What to Do With Your Hands: The Draw
- ironmooseut
- May 13
- 3 min read

Updated: May 17
Distance: 7 yards
Round Count: N/A
Par Time: 1.0 second
Start Position: Loaded and holstered, wrists below belt.
Procedure: Upon the start signal, build an acceptable grip with your sights aligned on target.
Most of your pistol shooting will likely begin with your pistol in the holster. That said, the draw is a skill that should be developed in dry fire. A good draw is efficient, ends with a solid grip, and your sights aligned on target. This is possible because you've already started "Developing an Index". This article will focus on drawing form an Outside the Waist Band (OWB) competition-style holster.
If you're more concerned with an Inside the Waist Band (IWB) holster, we'll talk about that in a future article.
Regardless of your pistol's holster style and location, the objective is the same. Efficiently get your firearm on target with a good grip and sights aligned on target.
There are two commonly used methods to draw your firearm. The Scoop Draw and the Snatch Draw. I personally use the Scoop Draw, further referred to as the Scoop. The Scoop is the more efficient of the two draws mentioned in this article, but it is also more difficult to master and there is slightly more risk involved. If done incorrectly, you will very likely fumble your pistol. However, if you're willing to put in the work in dry fire, you're going to be just fine when you get to the range.


The left image features two red "X's" these mark the reference points I use to ensure that I have a consistent start position as seen in the right image. As mentioned in prior articles, consistency is the name of the game. I use these reference points because within the competitive space most start positions will be "Pistol loaded and holstered. Wrists below belt." You may use whatever reference points work for you, just make sure it's the same every time.
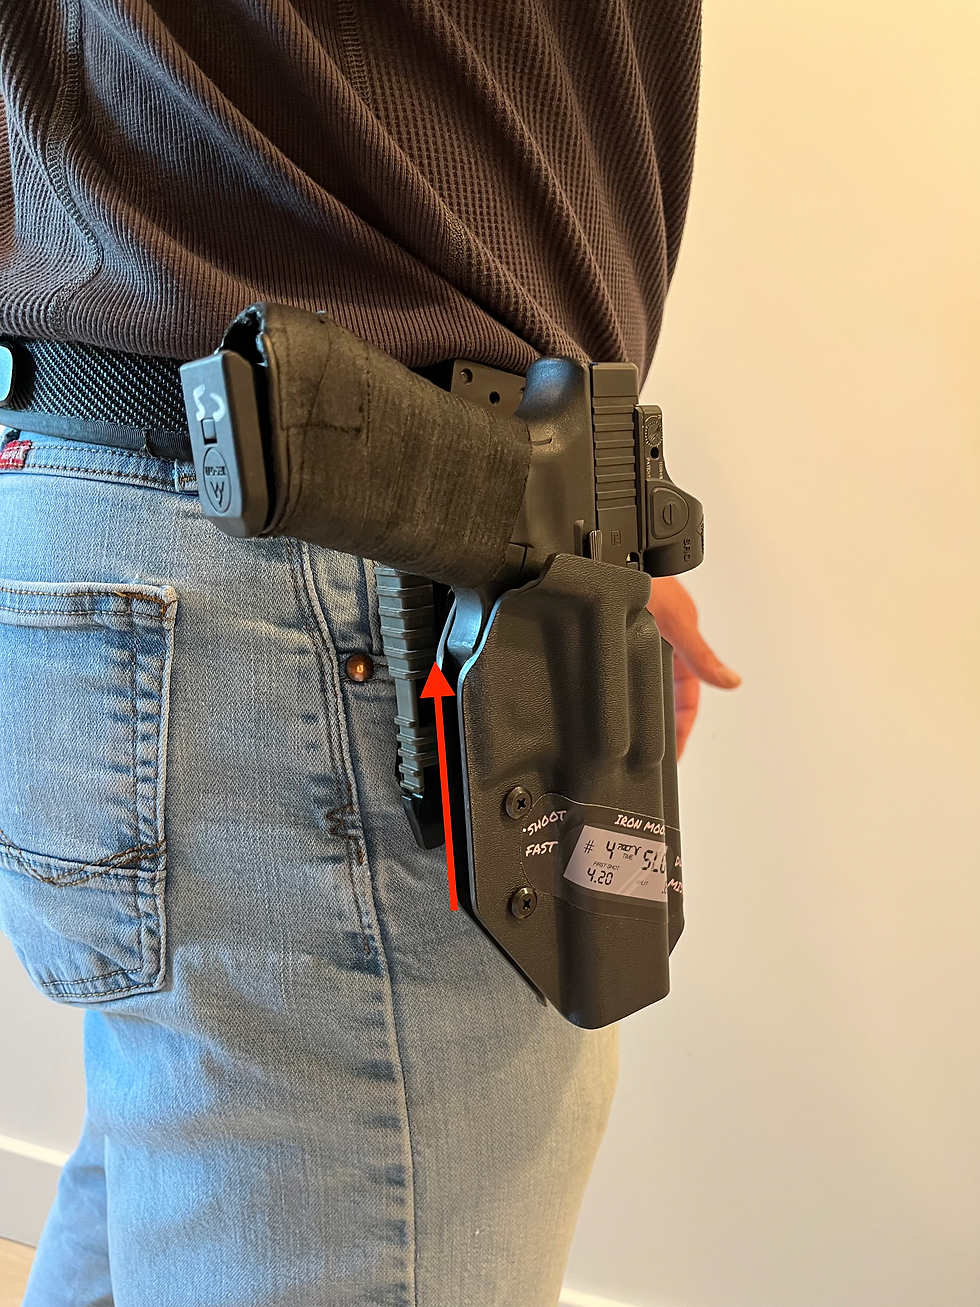

When you initiate your draw it is critical to move both your hands at the same time. First, lets talk about the firing hand. Following the red arrow in the left image, you're going to drag your firing-hand middle finger up the holster, until your middle finger is under the trigger guard, indicated by the green circle in the right image.


In the left image the gap between my hand and holster is exaggerated to provide a better view of my firing hand, dragging up the holster. The right image shows the grip established, and the pistol moving out of the holster. It is absolutely critical that you establish a solid grip on the pistol before you remove it entirely, you will fumble, and potentially drop your pistol otherwise. Also pictured in the right image is my support hand prepared to receive the firing hand and pistol. It is important to leave a clear path for your pistol to progress forward into the support hand. You do not want to flag yourself while drawing your pistol.


Once your pistol is out of the holster, establish your grip as soon as possible, ideally right at the location pictured in the left image. If you establish your grip sooner in the draw process, by the time the pistol is at full presentation, pictured in the right image, you will be ready to shoot as soon as your sights reach your eyes.
To develop your draw speed you'll need to incorporate a par time. The gold standard for a "fast" draw is less than one second. However, let it be known that this is kind of an arbitrary number, that is entirely dependent on target difficulty. As you begin to progress you will begin to meet this standard on more difficult targets. To achieve a sub-second draw, we are going to draw to an approximately one-inch spot at seven yards.

I hope this helps. Have a good one.
Shoot Fast, Don't Miss.

Comments